|
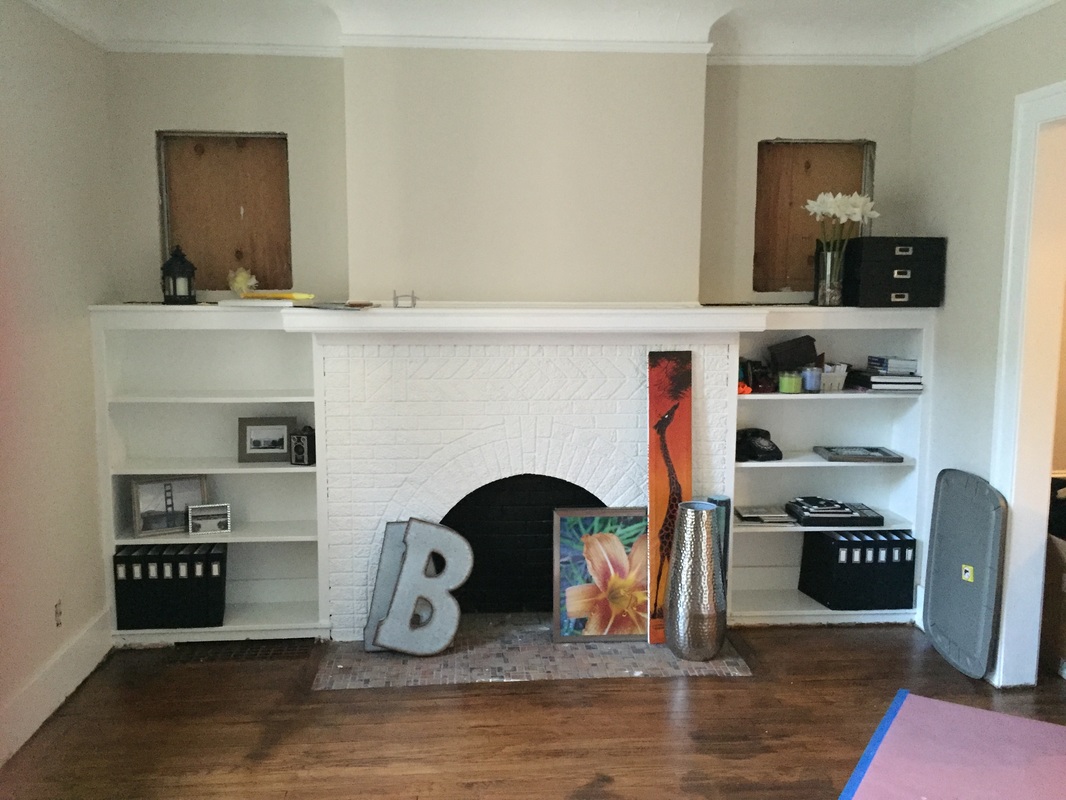
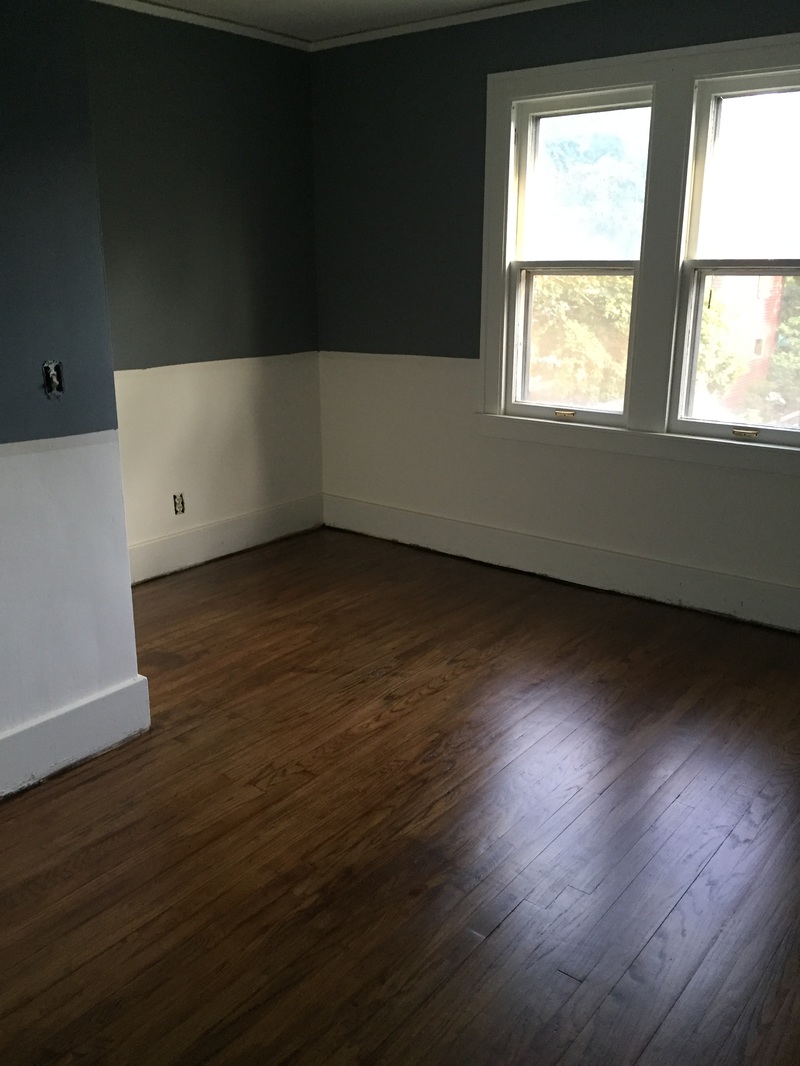
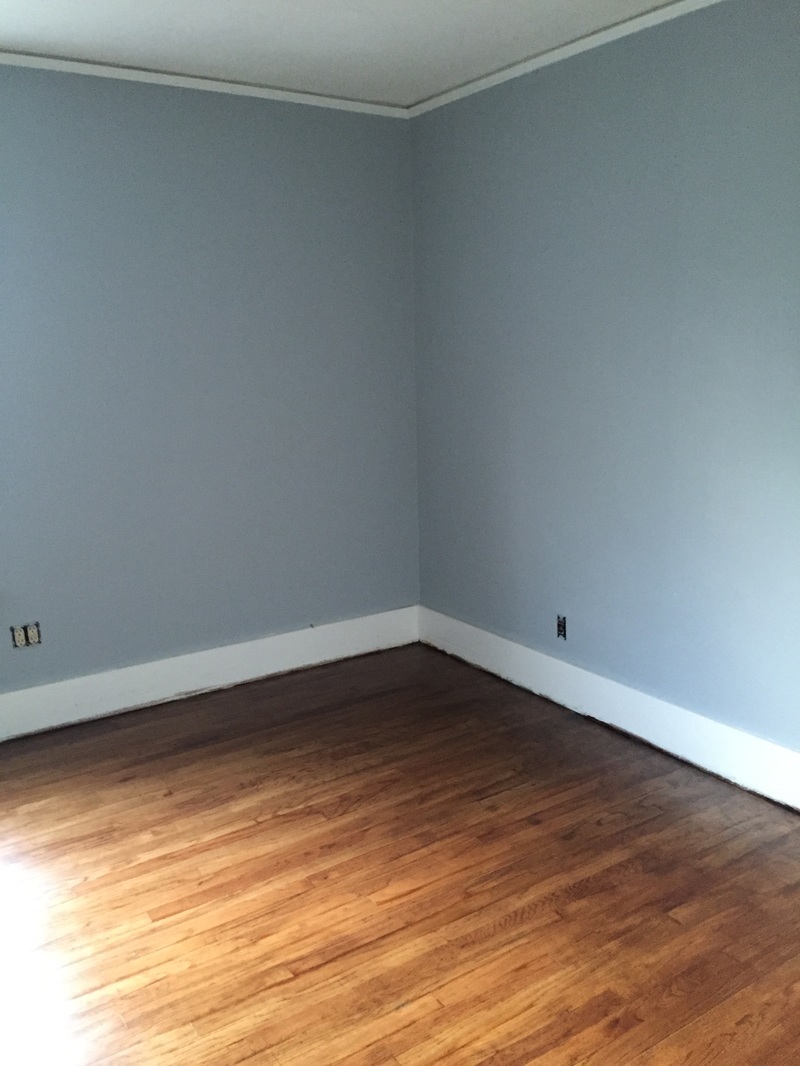
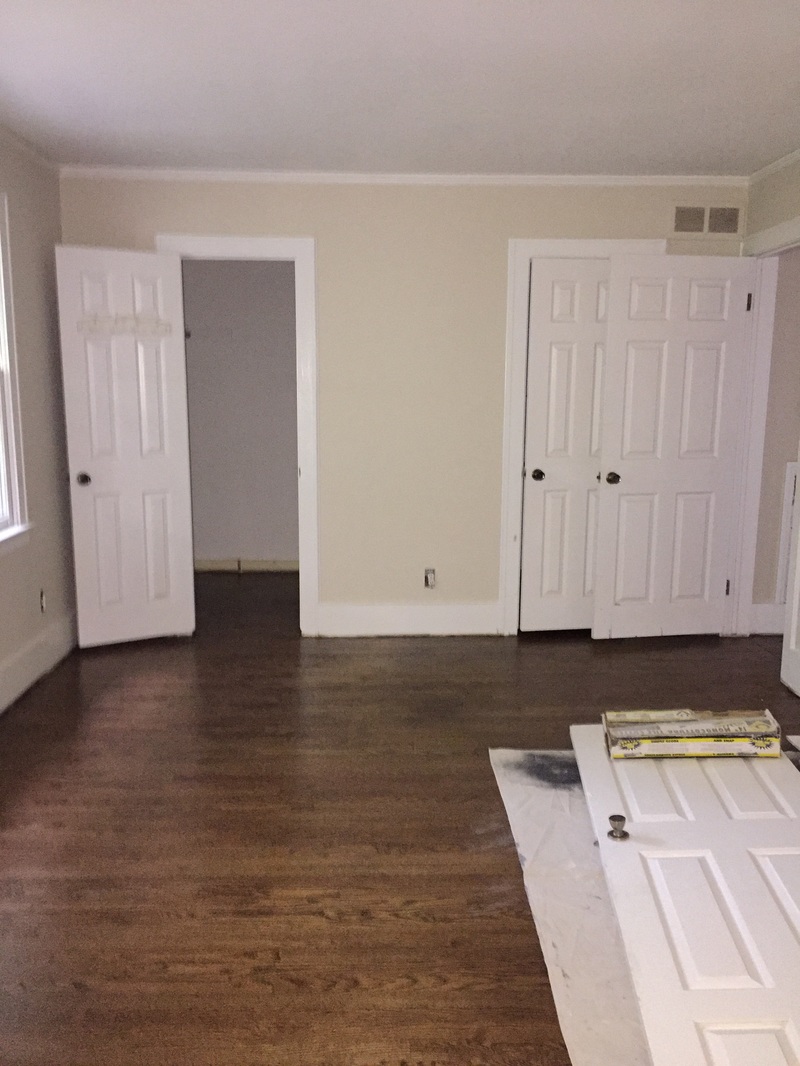
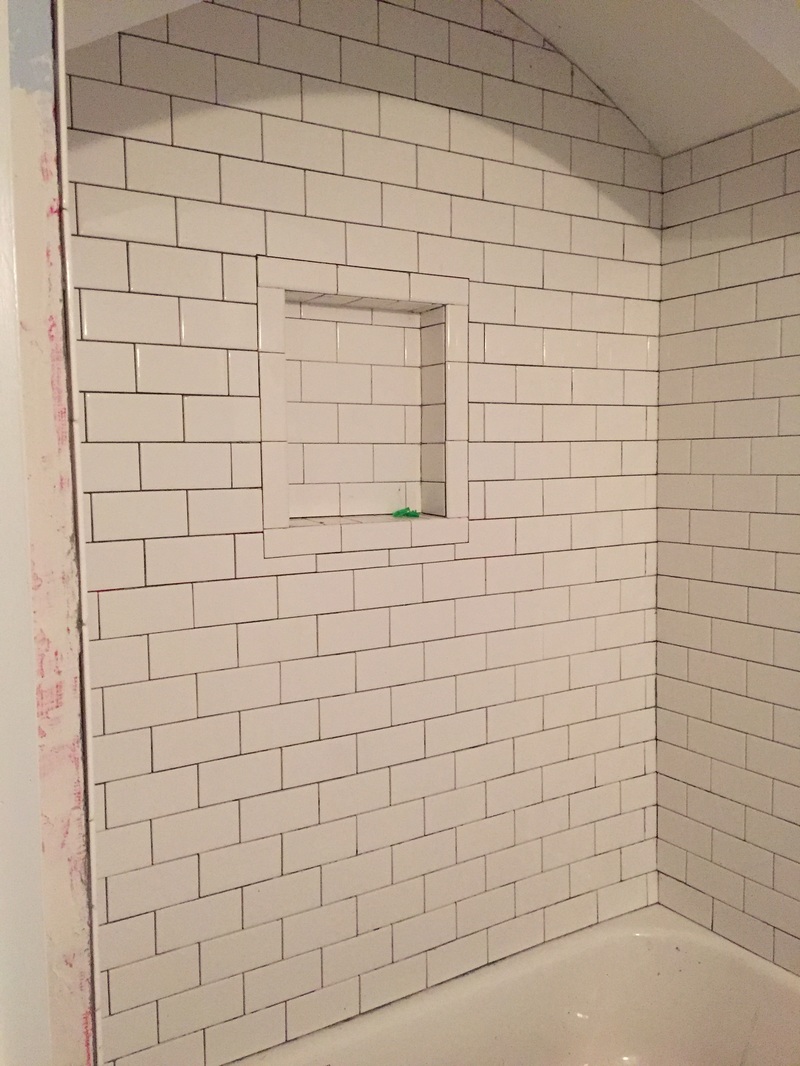
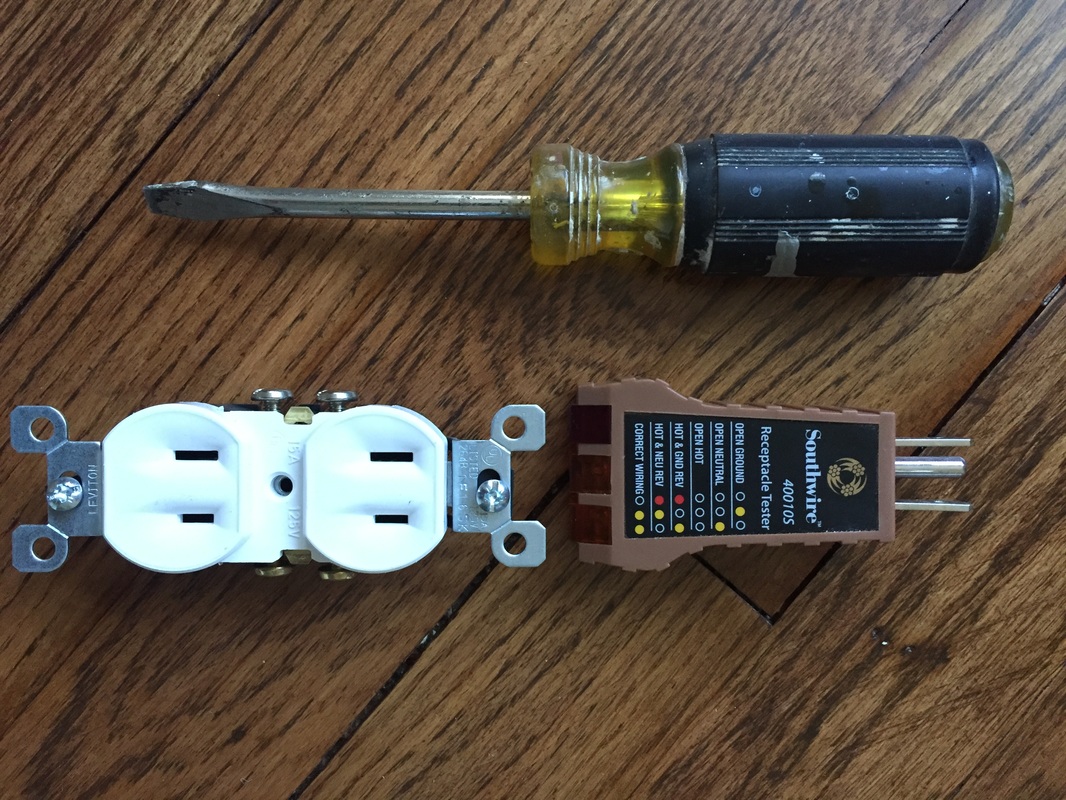
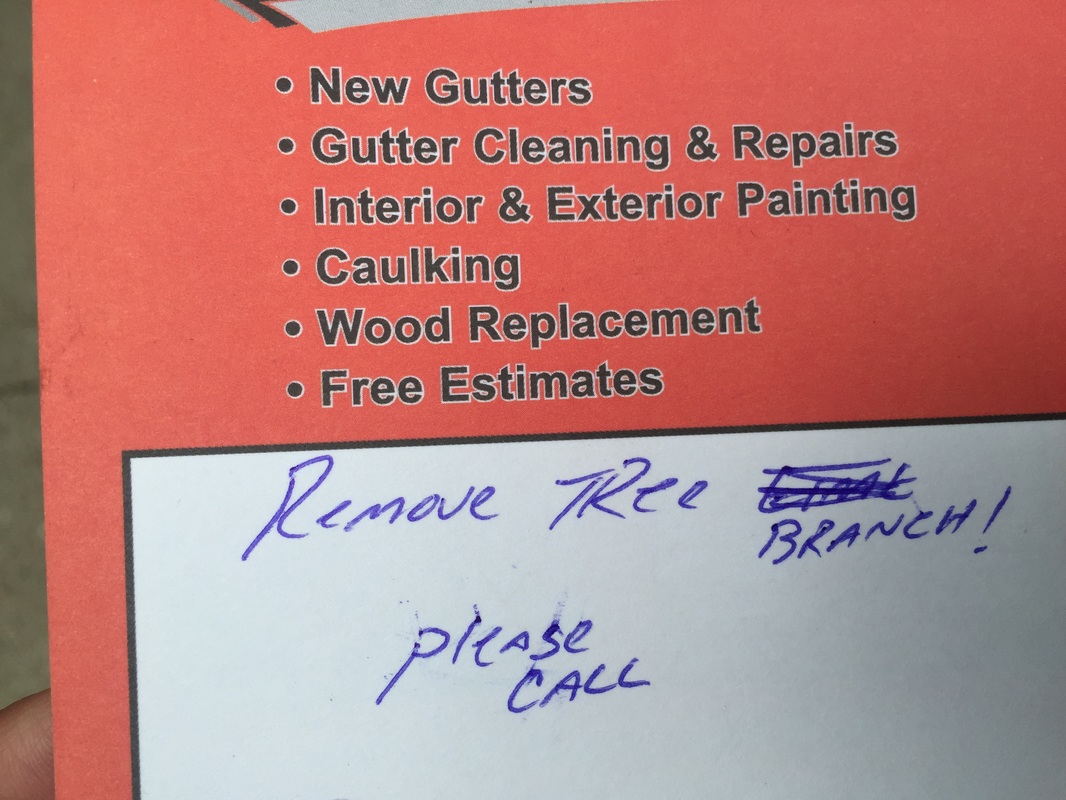
I cannot believe it has been over a month since I last checked in…but let me tell you, it has been a whirlwind! I really appreciate all of you who have taken the time to check out my blog. You all keep me going, and this blog reminds me to make sure I document all the progress I have made on the house. This has been a crazy summer. Between work and the house, I have not had a lot of time to enjoy it. So in between moving my stuff from my Detroit apartment, I have tried to squeeze sometime up north and on our family boat. For those who know me well, I love spending time with family and friends, and this renovation is not going to hold me back from enjoying my summer! Anyways, I have moved in, finally! After about 20 trips back and forth, I was able to move everything…in a Jeep Wrangler none the less. Have you ever tried to move using a Jeep Wrangler with a back window that has to be zipped? It’s not easy! Besides moving, we have gotten a lot done and a lot of things have been brought up to code. Project 1: Finishing the Floors In the last post, I mentioned that that the floors were being sanded. Well after all of my dad’s hard work and help from friends, the floors were all stained and turned out great! I picked out the Miniwax® Special Walnut stain for the floors. We (I mean my dad and Mark) ended up putting on two coats of the stain and 2 coats of polyurethane. Tip: Make sure you follow the directions for drying times to ensure that the finish has enough time to dry. After the last coat was applied, we waited one week before walking on the floors. Project 2: Full Bath Remodel I am LOVING how the bathroom is turning out. The shower is AMAZING!!! We had a lot of help with the tile! I choose white 3” x 6” subway tiles with gray grout (1/16th grout lines). The tiles follow the arch, which took a lot of patience and skill. We had an assembly line going for this project. We had people placing the tiles, someone cutting the tiles, and someone constantly bringing clean water. I helped with the grout…well sort of…my dad, I think, got irritated that I was taking too long to get the grout in the lines or maybe it was more of me pointing out that he forgot a little piece of tile. Either way it is done! We also installed the cabinet, sink and toilet. There was some drama with the bathroom. As my dad and I were working, we started to smell a gassy odor. We first thought it was the oven since we just installed it. But we turned off the gas line and it was still there. I ended up having to call up my local energy company to find out if I had either a natural gas leak or a gas line leak. Luckily, they did not detect anything and the smell has since gone away. After doing some research, people sometimes smell a gassy odor after installing new toilets. We are working on the finishing touches. I will reveal the remodel in the next post. Project 3: The Basement After cleaning the walls, I put on two coats of waterproof/basement paint and another 2 coats of interior paint. I, then, cleaned the floors with the TSP to try to get up the old paint and prepare it for paint. I would suggest waiting to paint the walls until after the floors are cleaned. The walls got dirty in the process because I used a garden hose on the jet spray. I ended up having to go back and clean the walls again. Next, I primed the basement floors. I also added a little project…I learned how to cement! In one of the corners of the basement, the floor had holes in it due to it being a coal shoot in the past. After watching a few YouTube videos and remembering how my dad did it, I gave it a try. I made a mold and mixed up the mix. It was not until I started to lay it down that I realized that I used the wrong type of cement. I had to make a quick trip to the local hardware store to get the right stuff, but the damage was already done. The wrong stuff made it uneven. It turned out okay…not great. You can at least stand on it and it does not hurt your feet. Once everything was set, I painted the floor a slate gray color. Overall, the basement looks a lot better. Down the road, hopefully, I can finish it and make it look better. Project 4: Electric I am learning a new trade…maybe I should give up my job and become an electrician…or maybe not. If you live in an old home like mine, you may have outlets that are not grounded (a.k.a. you have three prong outlets when you need two). I have been going through my house updating the outlets. It is actually pretty easy once you get the hang of it. (Each picture caption describes the steps you need to take.) Almost the same steps can be followed for light switches and ceiling lights. Be patient. This is not something that goes fast…in fact, I still have three more rooms to finish. I also bonded my water meter and hot water tank. I went to the local hardware store and bought the clamps and copper ground wire. It was very easy to do after I watched a few YouTube videos. Project 5: The Outdoors I have some great neighbors…in fact, they are so great that they were looking out for my house and they had to tell me that a branch…wait, a LIMB, fell on my roof! It happened over a weekend I was not around, and it took me a week before I realized what people were talking about. I ended up trimming the front tree to lower the chances of this happening again…I got really lucky there was no damage to my roof. I also ended up getting the trees in my backyard cut down so that I could try to grow some grass. Now that I am finally in the house, my priority is to complete the Certificate of Occupancy items. I am trying to get the little things done on the list, and we are on our way to checking everything off the list. Stay tuned!
2 Comments
Diana Conklin
8/16/2016 09:54:54 pm
Absolutely awesome! Looks great! And how proud you should be! Xo❤️
Tom Foster
8/17/2016 08:11:21 am
A big thanks to Mark for all the painting, floor sanding, etc., he was a BIG help. Also, thanks to Tony, John and Ed for all the help on the floors and tiling. Just for the record, i wasn't mad at your grouting, but I was up against a timeline, and look....WE MADE IT :) Leave a Reply. |
AuthorA twenty something about to embark on one of the biggest adventures of my life…buying a fixer upper. Archives
September 2016
Categories |


 RSS Feed
